
The Sony PlayStation (PSX)'s impact on console gaming cannot be understated. It was extremely successful, defining its generation of consoles. It was the first truly successful gaming console to rely on optical discs. It popularized removable memory card storage, which permitted progress or configuration data to be saved for virtually every game. The controller design also saw improvements in the form of dual shoulder buttons for each side and later the dual shock analog sticks. The movement to CDs allowed more games to be published, the US PlayStation library alone amounts to approximately 1,500 distinct games. Exploring the vastness of the PlayStation library on an original PlayStation has now been made relatively easy thanks to the rise of Optical Drive Emulators (ODEs). In today's blog post I am going to talk about the X-Station ODE, a modification which opens your PSX to the vastness of PSX gaming.
The Problem of CD-ROMs and the Available Solutions
Optical discs were amazing back in the early to mid 1990s, they held a vast amount of space for program and data storage compared to floppy disks or ROM cartridges. In 1994 when the PlayStation was released floppy disks on which software was distributed usually held 1.44MiB per disk and game cartridges rarely exceeded 4MiB. The PlayStation could hold up to 700MiB of storage on a single disc, and games using multiple CD-ROMs were not uncommon. Unlike a game cartridge, a CD drive assembly has moving parts which can wear out over time. Every PSX CD assembly has three motors, one to spin the disc sitting on the spindle, one to move the laser assembly across the track and one to focus the lens onto the disc's surface. The laser lens itself can burn out over time. Additionally, CDs are in many ways less durable than cartridges, they can be scratched, cracked, warped and get dirty. (I have not heard this happening much with PSX discs.) While a CD can take up less space than a cartridge, they can add up in size and weight once you have purchased a few dozen good games. Some PSX games have risen in price quite a bit, try finding a playable copy of Final Fantasy VII for under $40.
My first attempt to broaden my PSX's library without going on a disc buying spree was when I installed a modchip in my system. The modchips are excellent but they still rely on CDs, and my drive was definitely starting to show its age because I seemingly had to adjust the laser adjustment potentiometer on the side of the CD drive assembly for almost every CD-R I burnt. That became old really fast, so I let my PSX gather dust until a better solution arrived. Using a microSD card or an SSD would be a vastly more convenient experience.
At first I thought that the PSIO from Cybdyn Systems may fit that need but it had significant compatibility issues due to it mainly running from the parallel port and the community had rather soured on its makers due to some controversial decisions. The TerraOnion MODE, which is an ODE for Saturn and Dreamcast, also gained PSX compatibility but that company has burnt many a bridge over the years due to similar behavior as Cybdyn. Then came the X-Station by Robert Neumann, released in late 2020 which actually replaced the CD drive assembly, promising near-perfect compatibility with CD images. I bought mine just after Christmas from Castlemania Games, which had the mod in stock.
Installing an X-Station in your PlayStation
There is no true drop-in replacement ODE for the PSX, all three of the products mentioned in the previous paragraph require soldering some kind of adapter board to the solder side of the PSX mainboard. The PSIO's board is no harder to install than a modchip, but the MODE and X-Station are a bit more involved. The X-Station should not be your first attempt at modding, but the mod does not require advanced skills. The MODE and X-Station also require you to lift eight pins from IC701, a quad flat package chip, on the component side of the PU-18 mainboard. Be warned, once you have installed your X-Station, it will not be easy to restore CD drive functionality. The PU-8 mainboard only requires four pins to be lifted from a similar chip.
Before you buy an X-Station, make sure your mainboard is compatible. It is compatible with all SCPH-5xxx models, most SCPH-3xxx models, some SPCH-100x models and some SCPH-7001 and 7003s. The PU-18 and PU-8 mainboards are supported officially, the PU-7 may be supported unofficially. I have an SCPH-5501, so I knew mine was supported. The device now ships with adapter PCBs, one for PU-18, one for PU-8. The installation guide can be found here and common issues are discussed here.
An important tip is to use some kind of magnifying lens or headset to perform the work, the legs and pads are very small, especially the castellations on the adapter PCB. Some of the inner pins of the CD drive controller chip may lift more sideways than upwards, which is not the end of the world. When it comes to scraping the two vias, if you do not see the solder "taking" to the via, you need to scrape some more. The solder to those vias may not be as visibkle as the other points on the mainboard, checking continuity with a multimeter will show whether the connection has been made. Double check that all castellations have been soldered, when I thought I had finished my mod the first time, I found that my PSX booted to its internal memory card/CD player menu. I looked again at the adapter PCB and found I had missed soldering a castellation. Fixing that got my X-Station working OK. Between the vias, the castellations and the APLL pad for the wire, there are 19 points which must be soldered on the PU-18 adapter PCB.
Working with CD Images
The X-Station uses a microSD card and the SanDisk brand with the A2 rating is recommended. I did not need to anything close to the entire library on my system, so I chose a 256GiB card to start. This card worked well for me and had no issues with hiccups with FMV or skips with streaming CD audio as cards with slow access times can have. I have 72 CD images on the card and have barely used 1/5 of the storage capacity of the card. My card came formatted with exFAT and the X-Station supports that format or FAT32.
The entity today which verifies the correctness of optical disc images for their data fidelity is redump.org. For retail games, you should only use images matching the redump.org's database and dump your own CDs according to its dumping guide. For the PlayStation, redump.org images come in the .bin/.cue format, which is necessary as many, many PSX CDs are mixed data and audio CDs. Some European games use the Libcrypt protection for which devices like the PSIO at some point required the protection be patched out of every game. The X-Station handles the protection for every game known to have come with it.
Obtaining redump images can be time consuming. They can be found on a certain well-known Archival site on the Internet, but the organization of that site can be difficult to parse and you will need to manually download every compressed image manually. Torrents from that site do not work properly. More reliable torrents may be found elsewhere. If you have problems loading games or games seem unusually glitchy, compare the CRC32 of your Track1.bin to that given on redump.org's database.
If you need to rename an image, you must change the name of the .cue file, every .bin file and the file names as included in the .cue file. A .cue file (short for cuesheet) is a plain text file which describes the structure of the tracks on a CD-ROM. X-Station also supports .iso images and the .ccd/.img format used by CloneCD. For .bin/.cue files, there may be many .bin files in a game folder but only one .cue file. .bin files after Track 1 are usually Redbook CD Audio files.
One particular annoyance has to do with Eidos games. When Eidos games got to the Greatest Hits line, instead of booting to the game, the disc would boot to a menu where you could select the game or a trailer or a demo of another game. For those who just want to "get in the game", this pre-game menu is rather annoying. Eidos would, for certain titles best-selling titles like Tomb Raider, frequently refresh the demo/trailer content on the disc. Fighting Force and Tomb Raider (1), II and III have Greatest Hits releases with demos and trailers before the game. Fighting Force with a demo can also be found without the Greatest Hits label, Eidos did not even wait for the green-bordered variant materials to be printed. In order to avoid these discs, do not download the last revisions as named by redump.org. Instead, use Fighting Force v1.0, Tomb Raider v1.1, Tomb Raider II v1.0 and Tomb Raider III v1.0.
Using the X-Station
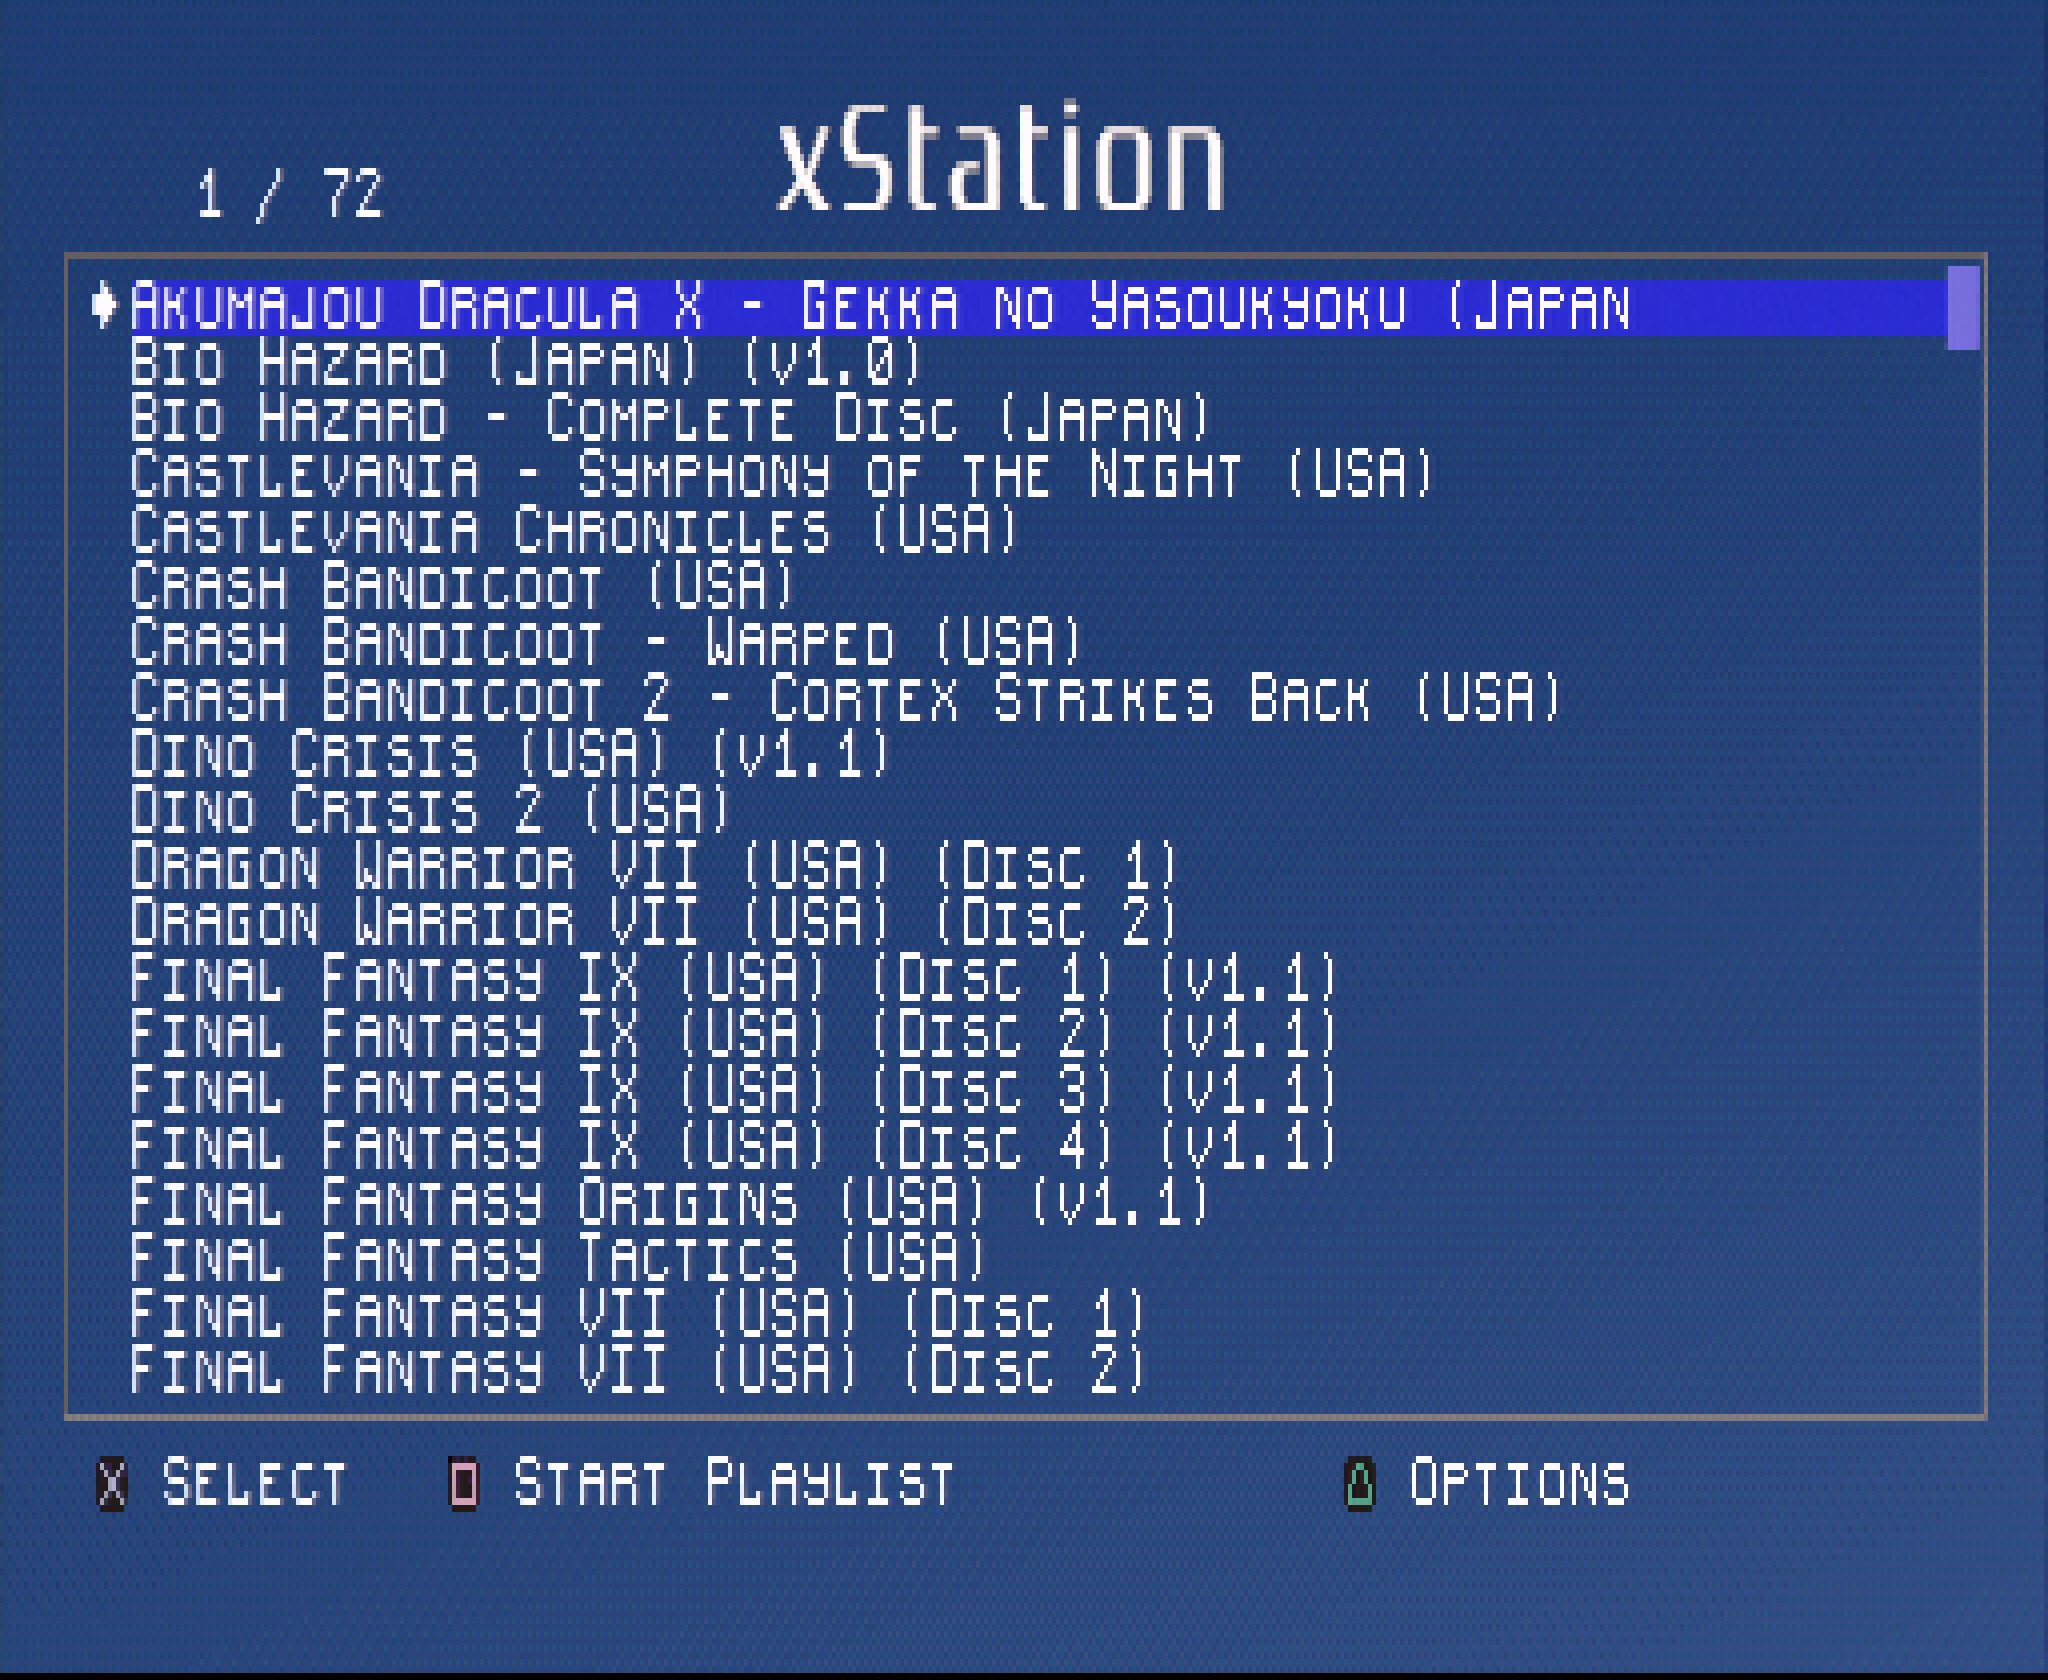
The X-Station boots to an image loader menu if the microSD card is in the slot after the initial two PSX splash screens. The first thing you should do when you get yours installed is to check to see if the firmware is current. The current firmware is located here and the official User's Guide, which describes the update procedure, is located here. Preparing your microSD card is easy, you just need to create a folder with the name 00xstation in the root folder of the card, then you can copy over your CD images, each in their own folder. You can also sort your images into subfolders for faster browsing.
The microSD card can be a bit tricky to insert into the slot once the top cover has been put back on the console, but it can be done. Laser Bear Industries sells a 3-D printed mount that makes the SD card slot much easier to access. If you use a generic microSD card extender, be sure to read the warning given here about the beveled edge.
The loader menu uses the PlayStation's 512x240 resolution to show more text on the screen. Navigating through the menus should be fairly intuitive. Up and Down move to the next or previous file or folder, Left and Right lets you skip 5 file or folder names, L1 and R1 lets you skip 20 several file or folder names. You can start the last disc you loaded by pressing the Start button.

When you select a CD image, you are given an Options Menu (shown above). Selecting Fast Load bypasses the PSX's initial boot screens while Full Load shows them. Presumably Full Load may be more compatible but I had no trouble with loading images using Fast Load. Your screen may flicker a few times while the X-Station is loading your game. Booting a game and in-game load times take roughly the same amount of time as an original disk, the loads may be slightly faster but compatibility issues arise when the disc loading speed is much faster than what the console expects. The menu uses a fixed-width font and does not scroll the name or otherwise let you see the remainder of the filename unless you use the Fast Load option. Some redump names are really lengthy.
Add to Queue allows you to use multi-disc games. When adding images to the disc swap queue pay attention to the number that shows up to the left of each file name as you add them to the disc swap queue. This number, and not the number in a file name, governs when the disc appears as you swap them. After you add all the images to the queue and when you start the game you can select the discs in the queue sequentially by opening and closing the CD lid until you get to the disc the game wants.
Silent operation of a console which previously made regular noise may seem a little unreal. You may find yourself missing the drive motor and CD spinning sounds as your games now load silently. You may even get a bit nervous when all you see is a black screen and feel like the device has crashed or failed to load a game due to the lack of drive noises.
Mem Cards leads you to a memory card browser. Here you can copy and delete save game files just like you can with the official built-in utility, but you can also restore deleted save games. I had save files I deleted probably a decade ago from my memory cards and they still showed up. In the screenshot below Memory Card 1 was always mine but Memory Card 2 I bought second hand, so I was able to see what a prior owner had played.


To get back to the loader menu from a game, hold down the reset button on the console for 2 seconds. A short reset will still act to reboot the game. If your Dual Shock controller was in analog mode, returning to the loader will reset it to digital mode.
The X-Station will allow games from any region to work in any console and will switch between 60Hz and 50Hz operation. You can also load translated and hacked images via X-Station. I was able to run the Castlevania: Symphony of the Night English Retranslation v1.0 [Note: use reump's Akumajou Dracula X - Gekka no Yasoukyoku (Japan) (v1.2) and patch Track 1.bin], Castlevania: Symphony of the Night Qualify hack (v1.3) and Resident Evil: True Director's Cut 0.4.
You do not lose the PlayStation's ability to play pure Audio CDs by installing the X-Station if you can image any CD as .bin/.cue and put each in an appropriately named folder on the microSD card. Load the audio CD image like a game in the X-Station's loader menu and you will get to the PSX's CD Player.
The PS1 Digital mod from Black Dog Technology will work with the X-Station and can be useful because the PS1 Digital can perform a compatible in-game reset.
Conclusion
The PlayStation X-Station mod costs $99 (plus tax and shipping) to purchase. If you are not comfortable with modding your consoles, you can find a modder who can perform the install for you at roughly the same cost (Voultar currently charges $95.40) plus shipping both ways. The mod ran every CD image I threw at it without issue. Any flaws in the product, such as it does not show Japanese characters in the Memory Card Brower that the PSX's internal Memory Card Browser shows, are nit-picks. Even with the added cost of the installation, I think it is definitely worth the price and would recommend buying one even if you have to defer modding it to your next payday.
you were wise to avoid PSIO. as of this writing, the firmware has not been updated in over two years, and is currently full of bugs and missing features. the company has demonstrated its incompetence in getting timely updates released, and has now taken to gaslighting and agitating its own customers instead. i advise all retro gamers to avoid Cybdyn's products.
ReplyDeleteI'd say it's a gamble getting a PS1 already modded with an XStation. The modder who sold me mine didn't bother to check if it played PAL games, so now I have to pay another modder to move one stupid tiny component. At least the fix is well-documented: https://github.com/x-station/xstation-issues/issues/33
ReplyDeleteGood point, if you have a PAL conosle to be modded, make sure your modder goes though the extra required step.
Delete